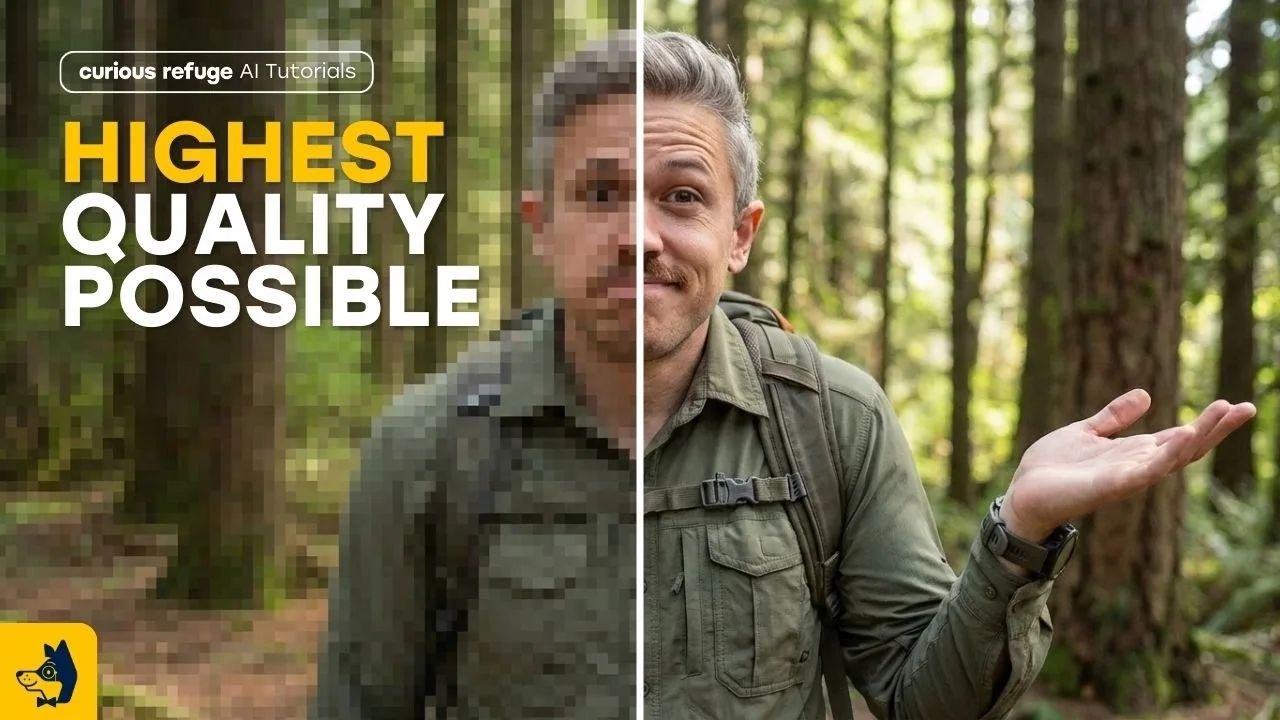
How to Upscale and Enhance Images in Dreamina AI
A generated image that charms on a phone screen can fall apart on a monitor, a banner, or a printed page, because size exposes what smallness forgave. Upscaling and enhancement exist to carry a picture to a larger destination honestly: more pixels, cleaner edges, detail clarified — not detail invented beyond recognition. This guide teaches the workflow for the Dreamina AI mobile app, including the judgement calls that separate enhancement from the plastic over-processing that ruins good work.
You will learn when upscaling is worthwhile, how to prepare the source, how to inspect the result like a printer rather than a fan, and the cases where the correct answer is regenerating at quality rather than enlarging at all.
Bring the picture you most want to see large. It will be our test case in spirit, and its verdict will teach your eye.
What Upscaling Actually Does
An upscaler rebuilds an image at higher resolution, inferring the detail a larger version should contain: edges sharpened, textures continued, noise suppressed. It is educated reconstruction, not recovery — information the original never held cannot be retrieved, only plausibly imagined.
That distinction sets expectations. Enhancement gives a clean, small picture a larger honest life; it does not turn a flawed generation into a flawless one, and it amplifies some flaws — warped hands grow more confidently warped at four times the size.
Prepare the Best Possible Source
Upscale the cleanest version you have: the finished, edited image, not a mid-repair draft. Finish canvas work first — expansion, retouching, removal — because enhancing before editing means enhancing the flaws into permanence.
Fix composition before size as well. Cropping after upscaling wastes the very pixels you paid the process to build, so the frame should be final before the file grows. The finishing order is canvas first, as in the Dreamina AI canvas and editing tools guide, then enhancement, then export.
Choose the Destination, Then the Size
Let the destination set the target: a phone wallpaper needs its screen's resolution, a social post needs the platform's sweet spot, a print needs roughly three hundred dots per inch at its physical size. Upscaling beyond the destination buys file weight, not quality, and platforms will compress the excess away anyway.
Keep the original beside the enhanced version with clear names. Destinations change; a library that holds the master and the sized exports can serve a new destination in minutes.
Inspect Like a Printer
Review the enhanced image at one hundred percent in the regions audiences inspect: faces, hands, text-like details, high-contrast edges. Look for the enhancement signatures — waxy skin, over-drawn eyelashes, textures that repeat like wallpaper — which announce over-processing more loudly than softness ever did.
Then step back to viewing distance and judge the whole. Enhancement passes when the picture feels clearer, not when it feels rendered; the moment a portrait's skin reads as polished stone, the process has gone past its honest work.
Faces Deserve a Lighter Hand
Portrait enhancement is the most sensitive case, because viewers are face experts and enhancement is an enthusiastic amateur. Prefer the gentlest setting that achieves the destination, and compare against the original side by side — the original's life is the standard, and clarity that costs life is a bad trade.
Where the source face is small in frame, enhancement invents proportionally more. Consider instead whether the composition wants the face smaller and softer — atmosphere over scrutiny — which is often the more beautiful and more honest answer.
When to Regenerate Instead
If the picture's flaw is structural — wrong anatomy, melted objects, a scene that dissolves under any inspection — no enlargement redeems it. Regenerate with a better prompt or a simpler composition, then enhance the worthy result.
The discipline is economic: enhancement is the last ten percent of a good picture's journey, and spending it on a broken foundation is how libraries fill with large, polished failures. Generation quality is built upstream, in the methods of the Dreamina AI text-to-image guide.
Print and Large-Screen Checks
For print, proof a small test of the most detailed region before committing to a full run; paper is less forgiving than screens and ink reveals banding and artefacts that backlighting hides. For large screens, view from the distance the audience will actually stand at, not from inspection range.
Keep colour expectations modest across media. The enhanced file is the same picture, larger — displays and papers will each translate it, and a final glance in the destination medium is worth more than any setting in the tool.
Enhance the finished picture, sized for its destination, inspected like a printer, with a light hand on faces. That is the whole craft, and its reward is work that survives being seen large.
The true test of a generation was never the thumbnail. Upscaling, done honestly, is how good pictures earn their bigger rooms.
Keep an unenhanced master of every important picture, permanently. Enhancement tools will improve, destinations will change, and the master is the only version from which all futures can be rebuilt — the negative from which every later print, in every sense, is made.
Share the inspection habit with anyone who prints or publishes your work. A chain is only as honest as its least-examined link, and enhancement artefacts introduced downstream are still your name on the wall.
Related Articles
How to Update Dreamina AI to the Latest Version
Update Dreamina AI on Android in place: check the version, keep your projects safe, verify with a familiar generation, and fix stalled updates.
Read More →
Dreamina AI Text-to-Image Guide: From Words to Pictures
Create images from text in Dreamina AI: prompt structure that works, style and ratio choices, and the iteration loop behind every good result.
Read More →
Dreamina AI Text-to-Video Guide: Your First AI Clips
Create video from text in Dreamina AI: prompts that describe motion, camera language, duration and ratio choices, and fixing clips that drift.
Read More →
Dreamina AI Prompt Tips for Better Results Every Time
Prompt craft for Dreamina AI images and video: ordering, specificity, negative guidance, style anchoring, and the iteration notebook that compounds skill.
Read More →
Image-to-Video in Dreamina AI: Animate Your Photos
Turn still photos into moving clips in Dreamina AI: which photos animate well, describing motion, keeping faces stable, and creative uses that work.
Read More →
Dreamina AI Canvas and Editing Tools Guide
Use the canvas editor in Dreamina AI: expand images, retouch regions, remove distractions, and blend generations into finished compositions.
Read More →
Dreamina AI for Social Media Creators: A Practical Workflow
A creator's workflow for Dreamina AI: series planning, covers that earn clicks, animated posts from stills, and batching a week of content in one sitting.
Read More →
Dreamina AI Credits Explained Simply
How credits work in AI generation apps like Dreamina AI: what consumes them, why video costs more than images, and habits that stretch a balance.
Read More →
Dreamina AI Video Not Generating? Fixes That Work
When Dreamina AI video generation fails, stalls, or returns errors: queue and connection checks, prompt causes, credit checks, and when to simply retry.
Read More →
Dreamina AI vs CapCut: Which Should You Use?
Dreamina AI generates footage; CapCut edits it. An honest comparison of generation versus editing, and the workflow that uses both in sequence.
Read More →
Product and Marketing Visuals With Dreamina AI
Create product and marketing visuals with Dreamina AI: hero images, lifestyle scenes, animated listings, and the honesty rules for commercial work.
Read More →
Dreamina AI on Low-End Phones: What to Expect
Use Dreamina AI on a budget Android phone: what runs on the service, what taxes your device, data and storage habits, and settings for smooth sessions.
Read More →
Dreamina AI Common Questions Answered
Plain answers about Dreamina AI: images versus video, credits, quality, rights, CapCut's role, and what to try when generations disappoint.
Read More →
How to Install Dreamina AI on Android Phones and Tablets
Learn how to install Dreamina AI on Android with simple steps, setup tips, and common checks before opening the app for the first time.
Read More →
Dreamina AI Features Guide for Android Users
Explore the main Dreamina AI features on Android, including prompt-based creation, image editing, and practical creative uses.
Read More →
Dreamina AI Device Compatibility Guide for Android Users
Find out which Android devices are best suited for Dreamina AI and what to check before installing the app on phones or tablets.
Read More →
Core Creative Functions in Dreamina AI Explained
Understand the main creative functions in Dreamina AI, from text prompts and image editing to visual drafting and design-focused use.
Read More →
Dreamina AI Not Working Common Problems and Fixes
Learn the common Dreamina AI problems on Android and the simple fixes that can help with installation, loading, and basic app performance.
Read More →
Best Ways to Use Dreamina AI on Mobile More Effectively
Discover practical ways to use Dreamina AI on mobile for better prompts, cleaner workflows, and more useful creative results.
Read More →